
What to expect from a landscape design and installation project
By Petra Kowalski · Updated 2026-06-30
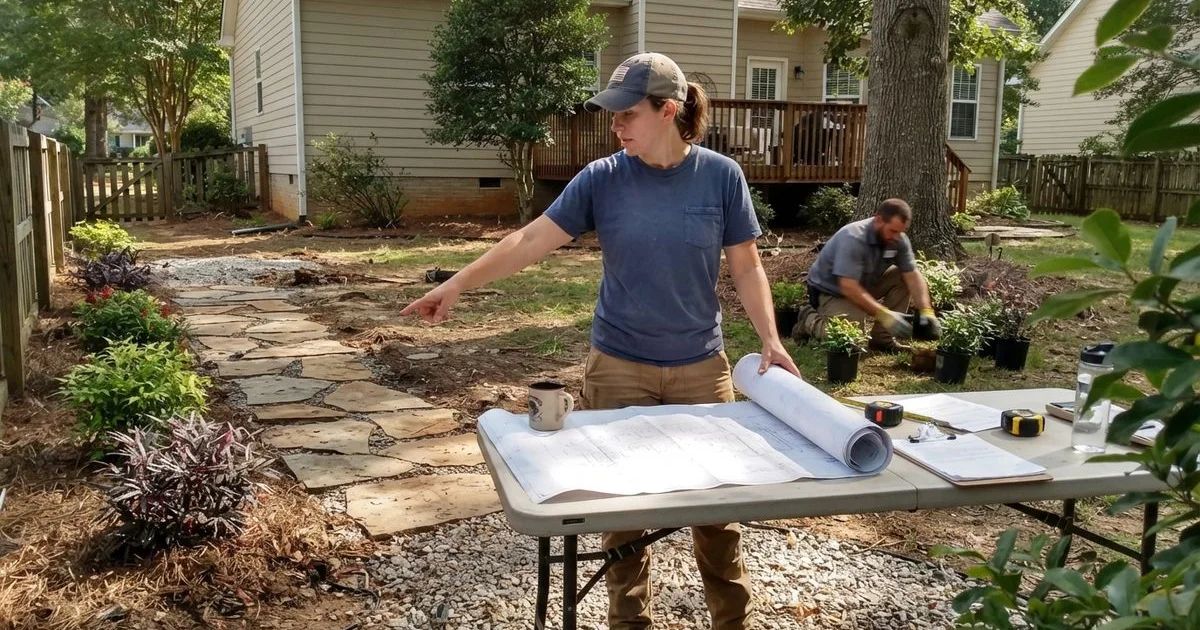
A landscape design and installation project is closer to a small construction job than routine yard care, and knowing the typical sequence helps you know what’s normal and what’s worth asking about. Here’s how a project generally moves from first call to finished yard in Lexington.
Step 1: Initial site visit and consultation
A designer or project lead walks the property, takes measurements, notes sun exposure, drainage patterns, existing plants worth keeping, and any site challenges like slopes or tree roots. This is also when you talk through budget range and priorities, since a realistic budget conversation early avoids a design that gets scaled back later.
Step 2: Design and proposal
Depending on the company, this ranges from a simple sketch to a full rendered plan. You should get a written scope that lists what’s included: plant selection, hardscape elements, irrigation if applicable, grading and drainage work, and cleanup. Ask whether the design fee, if there is one, is separate from installation or credited toward it.
Step 3: Contract and scheduling
Once you approve the design, expect a contract that spells out cost, payment schedule (often a deposit tied to materials, with balances due at milestones or completion), and a rough timeline. Confirm whether the timeline accounts for weather delays, since rain can push back grading and planting work more than people expect in a Midlands spring.
Step 4: Site preparation
Before any planting happens, the crew handles grading, drainage fixes, and any demolition of existing hardscape or overgrown beds. Good contractors mark utility lines before digging and protect existing landscaping and irrigation that’s staying in place.
Step 5: Installation
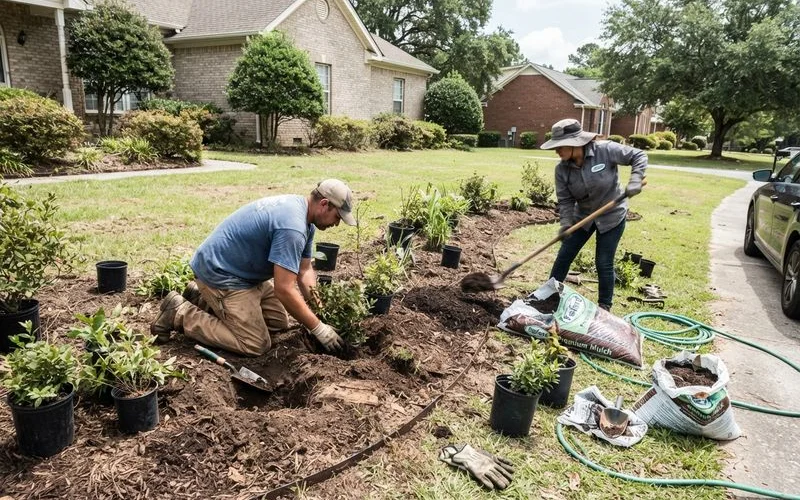
This is the bulk of the visible work: hardscape construction if included, irrigation trenching and setup, soil amendment, and finally planting and sod or seed. A well-run crew sequences this so irrigation goes in before final planting, since it’s much easier to run pipe through open ground than around finished beds.
Step 6: Cleanup and final walkthrough
The crew should haul away debris and leftover materials, then walk the property with you to confirm everything matches the agreed plan. This is the point to flag anything that doesn’t look right, since it’s far easier to address before the crew leaves than after.
| Stage | What happens | What to ask about |
|---|---|---|
| Site visit | Measurements, drainage, sun exposure | Realistic budget range |
| Design | Sketch or rendered plan, written scope | Whether design fee is credited to installation |
| Contract | Cost, payment schedule, timeline | Weather delay policy |
| Site prep | Grading, demolition, utility marking | How existing irrigation/plants are protected |
| Installation | Hardscape, irrigation, planting, sod | Sequencing of irrigation before planting |
| Walkthrough | Final inspection, cleanup | Warranty terms on plants and sod |
After installation: what care looks like early on
New plantings and sod need more attention in the first few weeks than an established lawn, particularly watering. Ask the company what aftercare they recommend or provide, and whether follow-up visits are included to check on how everything is establishing. This early period is also when a workmanship or plant warranty matters most, since problems tend to show up in the first season.
How weather affects the schedule
Lexington’s spring rain and summer heat both affect how a project moves. Heavy rain can delay grading and hardscape work, since compacting a wet base doesn’t hold up the same way, and planting in the peak of summer heat puts more stress on new sod and shrubs than a spring or fall install. Ask your contractor how they plan around this, and whether the quoted timeline already accounts for typical weather patterns or represents a best-case scenario that could easily slip.
Questions to ask before signing off on the design
Before approving the final plan, it’s worth confirming a few practical details: who is responsible for calling in utility locates, what happens to existing plants or hardscape being removed, and whether the quote includes final grading and cleanup or treats those as separate costs. Getting clear answers here before work starts prevents the kind of mid-project surprises that turn a straightforward install into a frustrating one. If the project is aimed at getting your home ready to list rather than for your own long-term enjoyment, our guide on landscaping before you sell your Lexington home covers which of these steps are actually worth the spend.
To see photos and details from companies doing this kind of work locally, browse our landscape design & installation category, or start from our full directory to compare across service types. Request quotes once you’re ready to start planning, and see our methodology for how we evaluate and rank the providers here.
FAQ
- How long does a full landscape installation take?
- It depends heavily on scope. A modest bed and planting refresh might wrap in a few days, while a full-property redesign with grading, sod, irrigation, and hardscaping can take several weeks, especially if weather causes delays.
- Do I need a separate design fee before installation starts?
- Some companies charge a design fee upfront and credit it toward the job if you move forward, while others fold design into the overall project price. Ask upfront so you're not surprised by a line item later.
- What happens if something doesn't survive after installation?
- Reputable companies typically offer some warranty period on plantings and sod, though terms vary. Get the warranty details in writing before the project starts, including what counts as normal care on your end versus a workmanship issue.
- Can I make changes once installation has started?
- You usually can, but changes mid-project often mean added cost and schedule delays, especially if materials already ordered need to be swapped. It's worth finalizing the plan as much as possible before digging begins.